The Premise
Owning a Brymen DMM but only a finite amount of table surface compels me into not wanting the Brymen to use up project real-estate on my table, while wanting it on my table. A quick way out of this misery is a wall mount: it allows having the Brymen above my table, without having it on my table. Luckily the Brymen comes with a stand at the back, which can be folded 180° upwards. Said stand has an oval hole, which begs to be mated with a 3D-printed mount.
Dimensions & Design
The stand is approximately 3 mm thick plastic, and the hole is 30 mm wide and 20 mm high. I opted to recreate the oval shape with a two cubic bezier splines. Their two support points are on the tangent of the splines next endpoint and in the middle of the splines total width in the dimension orthogonal to that tangent. The following might illustrate the matter clearer:
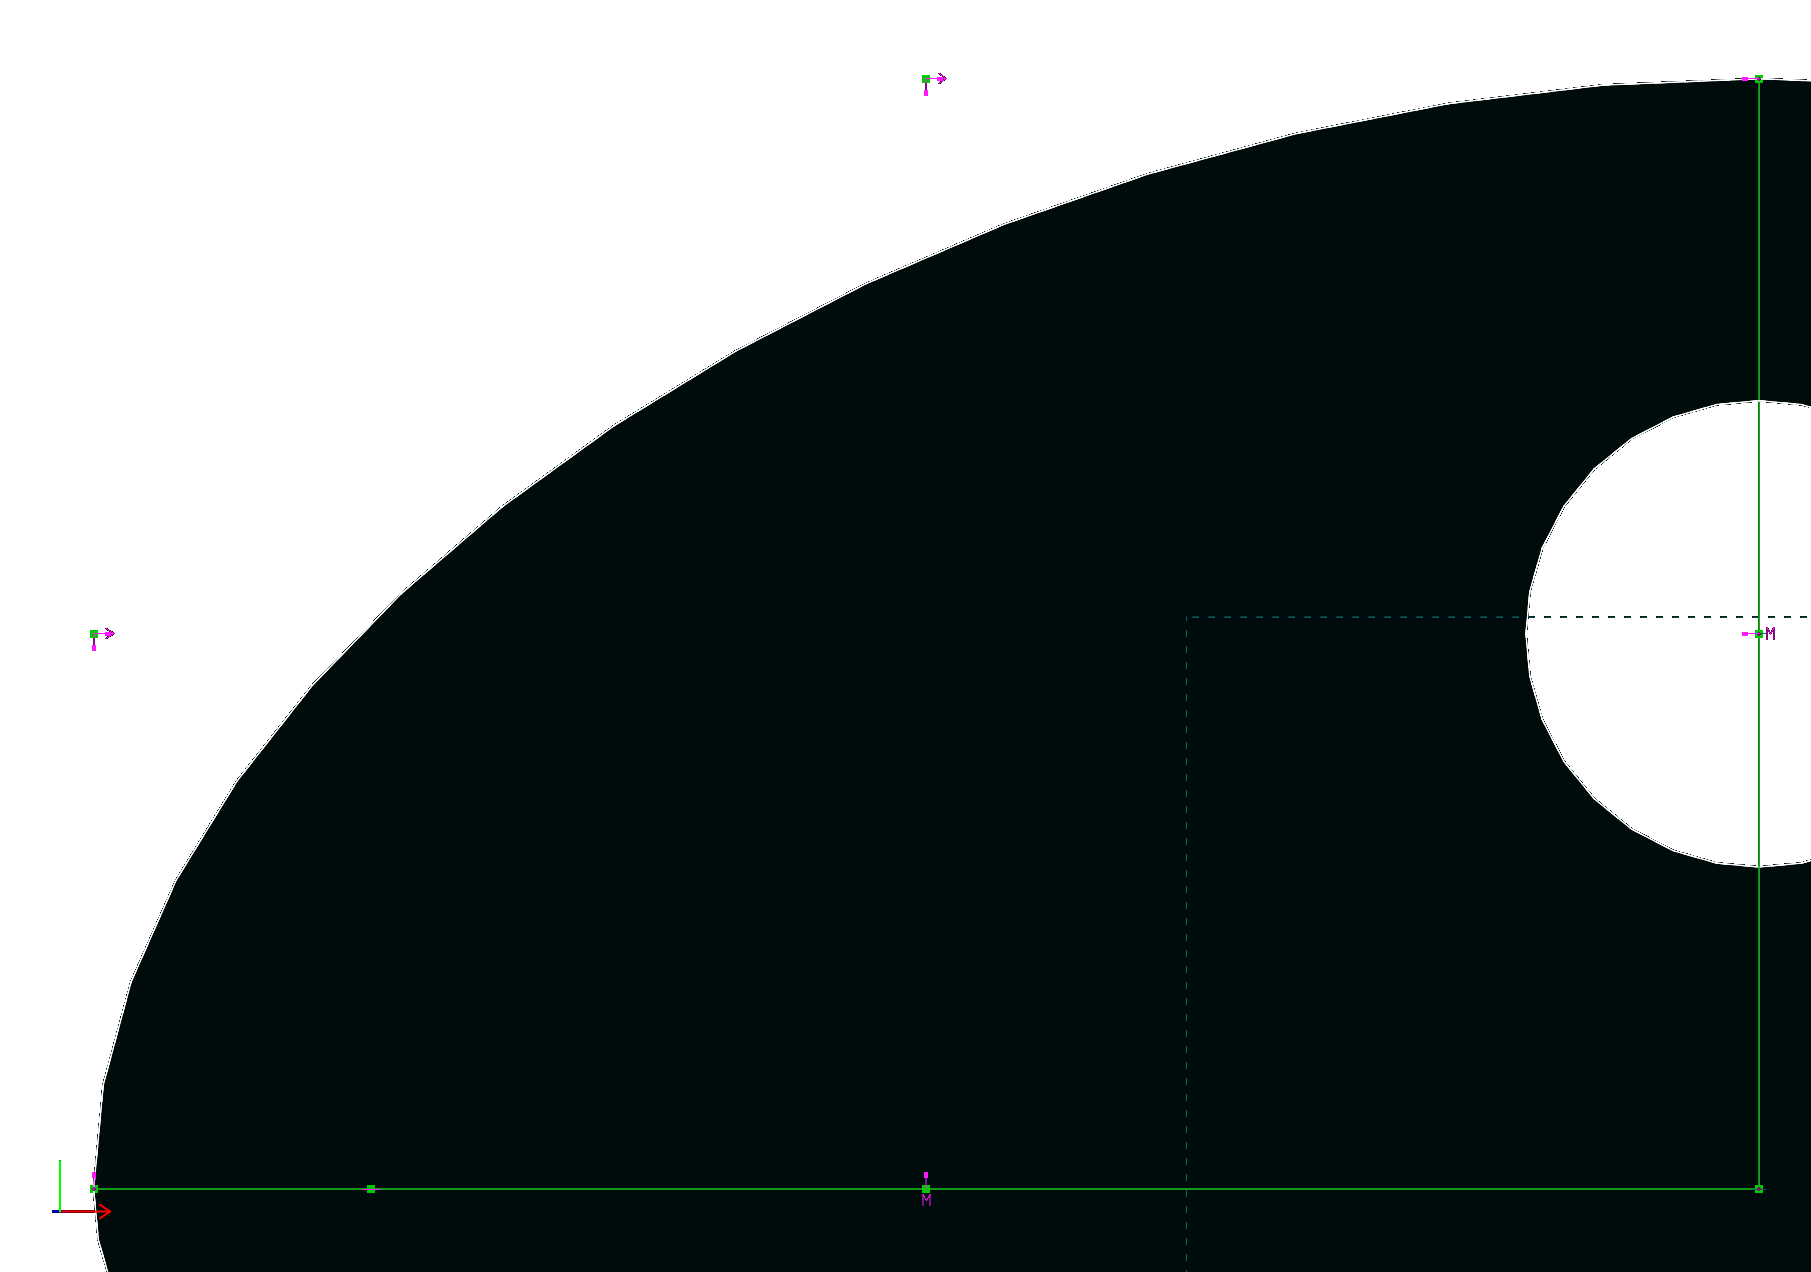
Explanatory view on supportpoints for the cubic bezier spline
This shape is extruded by 3 mm, a good amount for panels, sheets etc. which are expected to be somewhat stiff. Similarly another shape is constructected, shifted down by 2 mm. The so created rim is what secures the DMMs stand on the mount. The final part then looks as following:
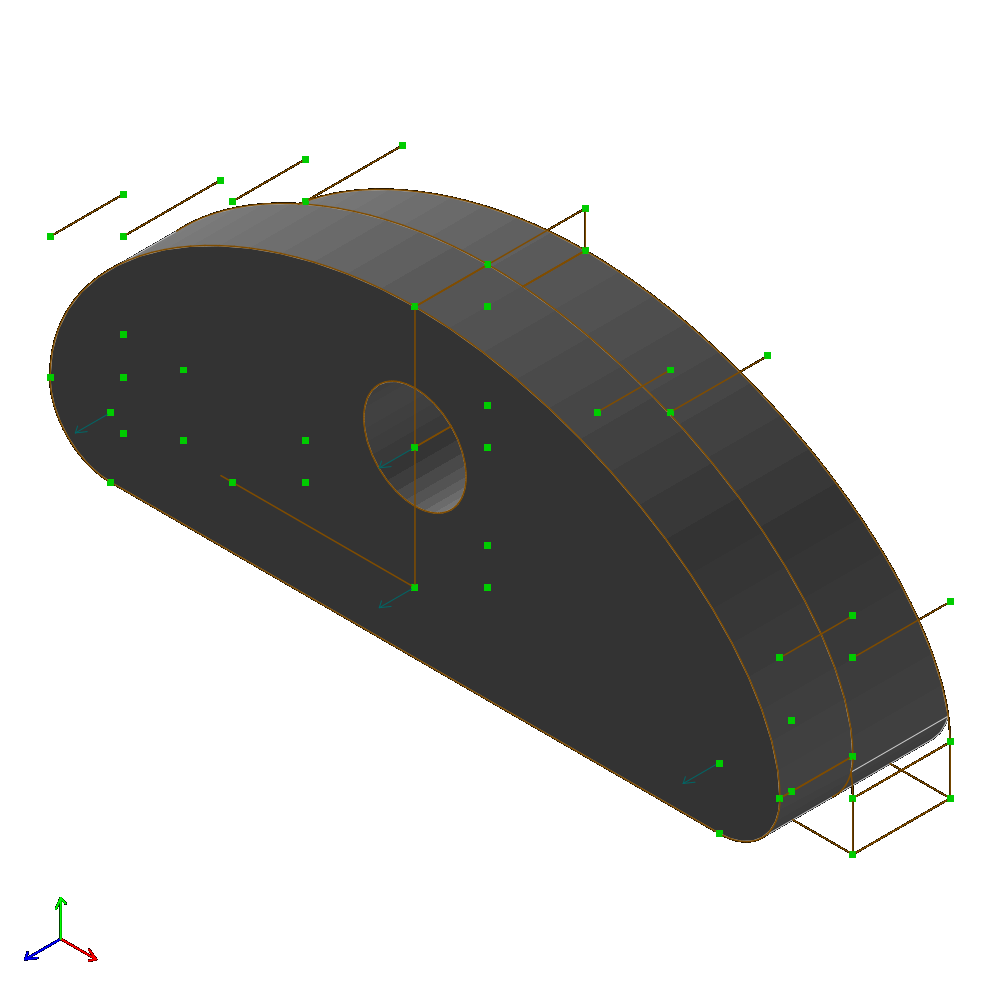
3D model in Solvespace, isometric view
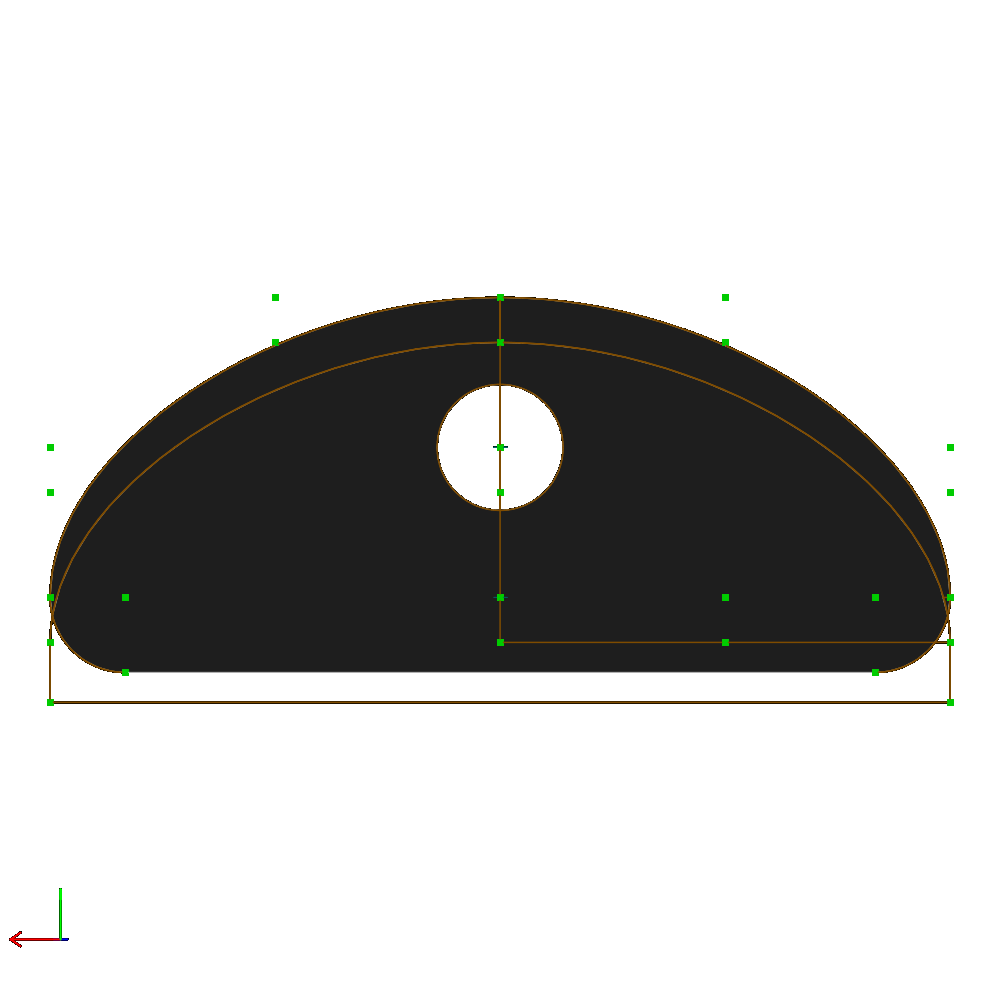
3D model in Solvespace, back view
A 4 mm hole ensures a snug fit for the ISO 7380-1 M4 button head screw that attaches the mount to the wall of my (your?) choice.
Afterthoughts
The mount works quite well, as long as there is a wall for the DMM to rest against. Hanging the DMM on the mount without any support makes it pan downward approximately 35°, which is suboptimal. Furtheron any physical interaction introduces swinging. So, this really is a nice wallmount for storage and usage, and a functional hook, but only for storage.